
Create your first Word 2013 document

Start using WordYour first step in creating a document in Word 2013 is to choose whether to start from a blank document or to let a template do much of the work for you.
Save your documentClick File> Save, pick or browse to a folder, type a name for your presentation in the File name box, and click Save. And save your work as you go - hit Ctrl+S often. To print, click the File tab and then click Print.
Add some formattingIn general, the best and easiest way to format text is to use a Style. Styles are easy because you can apply a number of formatting options with one click.
Insert some thingsOn the Insert tab, you can add pictures, shapes, SmartArt graphics, tables, and more to take your document to the next level.
Add headers, footers, margins, and moreYou can add a lot to your document using the commands and options on two tabs – the Home tab and Insert tab. But what about the others? Let’s look at what you can do on the Design, Page Layout, View, and Header and Footer Tools tabs.
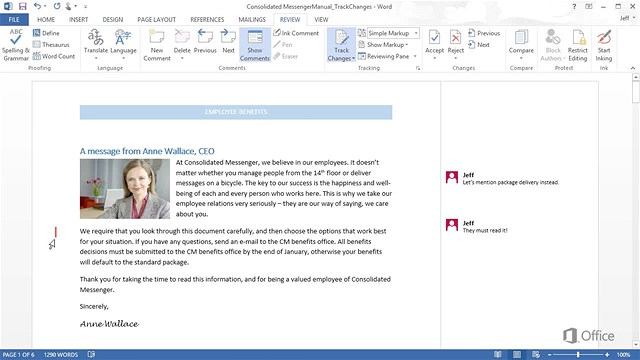
Using Word to EditWorking with others in the same document. Tracking changes and editing.
|

MLA citations
Outline, MLA, format, citation, bibliography—there’s a lot to know when you write a research paper.
|
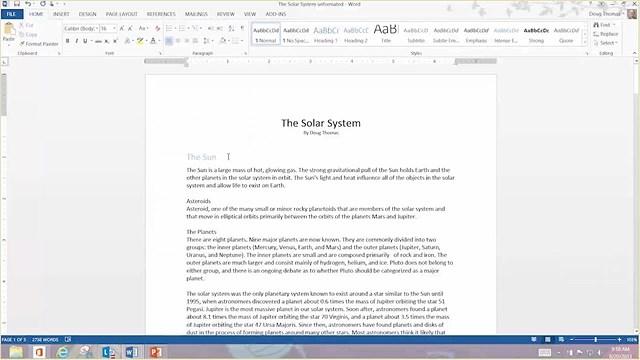
Using Styles
Learn the benefits of using Styles, like organizing a large document fast. |

